Disassembling and Reassembling an AR-15 Bolt Carrier Group
The AR-15 Bolt Carrier Group (BCG) is one of the most crucial components of your rifle. Regular maintenance, including disassembling and cleaning the BCG, ensures reliable performance and longevity. Whether you're an experienced AR-15 owner or new to this platform, this guide will walk you through each step of the process. Additionally, you'll find a link to our video, which visually demonstrates each step for your convenience.
Safety First
Before starting, always adhere to these safety guidelines:
- Ensure the firearm is unloaded: Remove the magazine and check that the chamber is empty.
- Work in a clean, well-lit area: this helps prevent small parts from getting lost.
Disassembling the Bolt Carrier Group
1. Remove the BCG from the rifle:
- After ensuring the firearm is unloaded, separate the upper and lower receivers.
- Pull back the charging handle to extract the BCG from the upper receiver.
- Locate the firing pin retaining pin on the side of the bolt carrier.
- Use 5.56 ammo or small hex key to push out the retaining pin.
- Tip the bolt carrier backward to allow the firing pin to slide out.
- Push the bolt in to expose the cam pin.
- Rotate the cam pin 90 degrees and lift it out of the bolt carrier.
- Pull the bolt forward and remove it from the carrier.
- Locate the extractor pin on the side of the bolt.
- Use a small hex key to push out the extractor pin.
- Carefully remove the extractor and its spring from the bolt. Be mindful of the spring, as it can easily be lost.
Reassembling the Bolt Carrier Group
1. Reinstall the extractor:
- Place the extractor and its spring back into the bolt.
- Align the extractor pin hole and push the extractor pin back into place, securing the extractor.
- Slide the bolt back into the carrier, ensuring proper alignment.
- Insert the cam pin into the bolt, then rotate it 90 degrees to secure it in place.
- Insert the firing pin into the bolt carrier, ensuring it slides all the way in.
- Secure it by inserting the firing pin retaining pin back into its hole.
- Verify that all components are correctly installed and secure.
- Reinsert the BCG into the upper receiver, aligning it with the charging handle, and reassemble the upper and lower receivers.
Additional Tips
- Inspection: Regularly inspect the BCG for signs of wear or damage. Replace any worn-out components to maintain optimal performance.
- Cleaning: Clean the BCG thoroughly during disassembly to remove carbon buildup and ensure smooth operation.
- Lubrication: Apply appropriate firearm lubricant to the BCG during reassembly to reduce friction and wear.
Conclusion
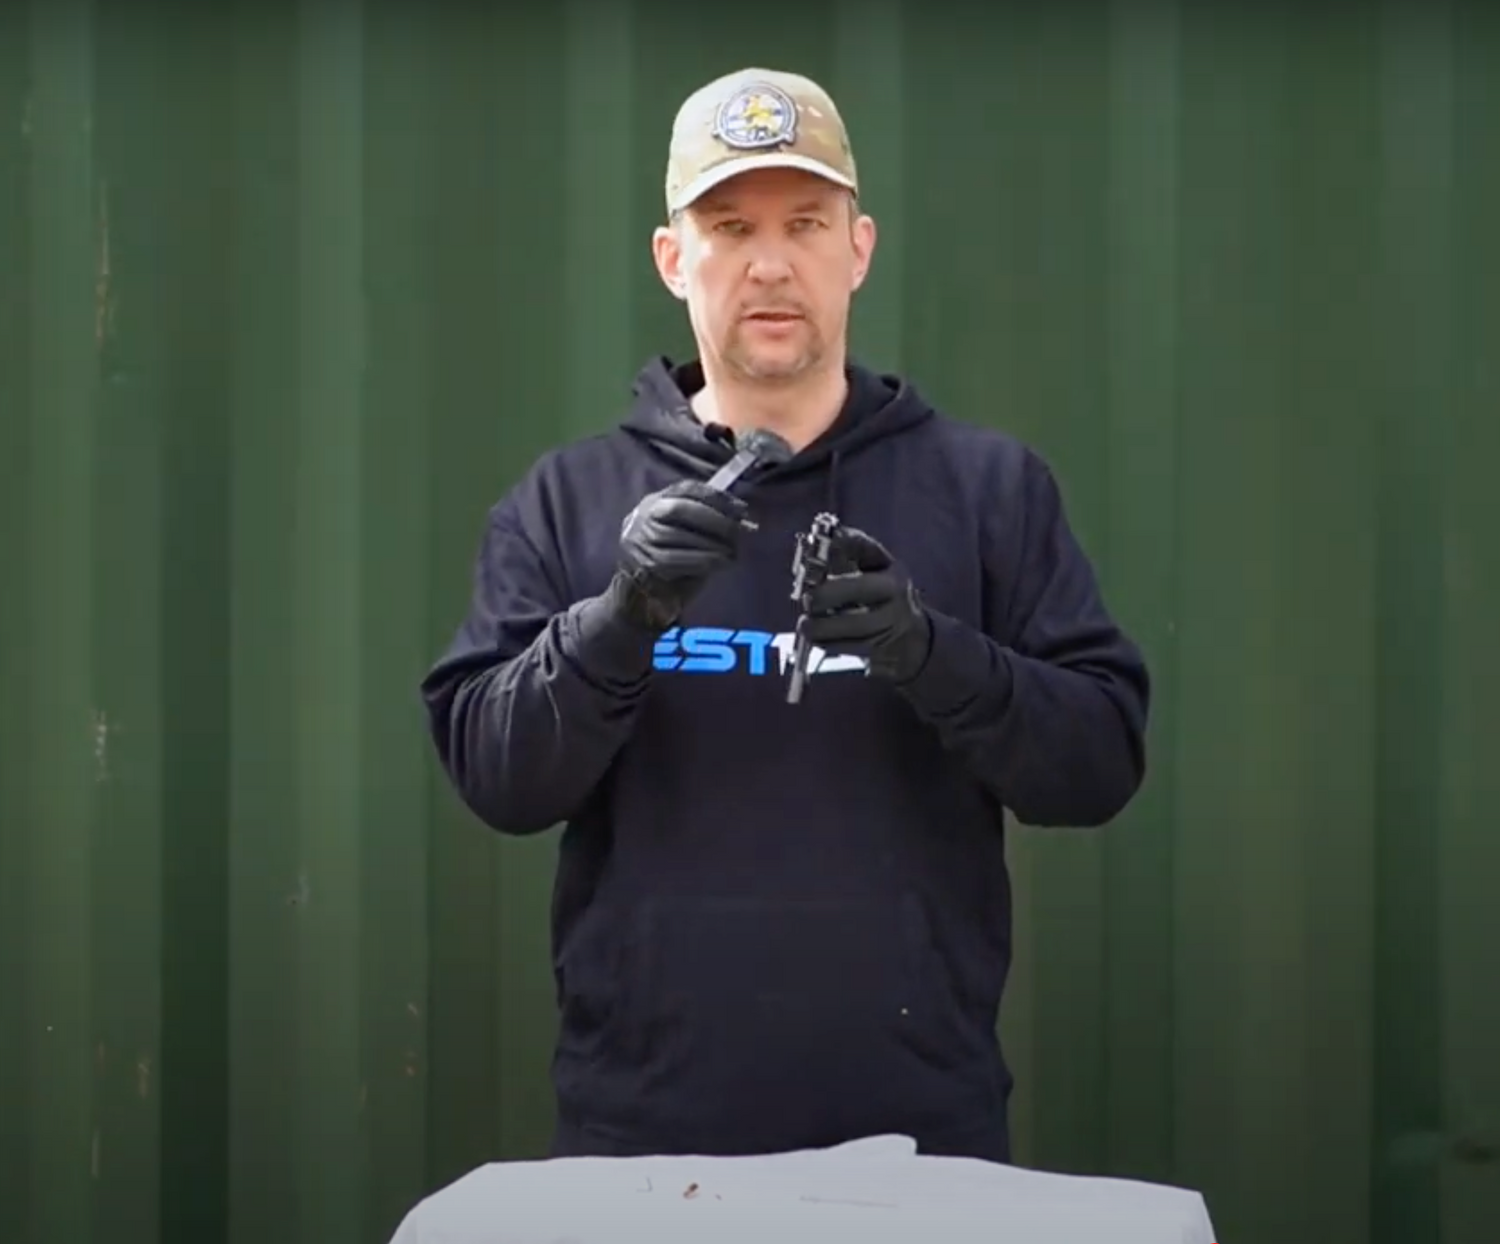
Disassembling and reassembling an AR-15 Bolt Carrier Group is a straightforward process once you understand the steps involved. Regular maintenance of your BCG will keep your rifle running smoothly and reliably. We hope this guide has been helpful. For a visual walkthrough, be sure to watch our video on disassembling and reassembling an AR-15 Bolt Carrier Group. The video offers clear, step-by-step instructions to make the entire process even easier.